[A Circus Bella Pinwheel]
Here at Circus Bella, pinwheels are near and dear to our heart.
There is something absolutely irresistibly charming and whimsical about our curious little aeolian doodads.

Keep a look out for them at our next show. In the meantime, you can make one to keep you and your garden company until then.
Things you need:

straight edge or ruler
paper glue
scissors
pliers
some tape
sharpened pencil
paperclip
pushpin
thin plastic
any two squares of paper
a stick
sort art supplies for coloring

Start here!

Find two squares of paper.

Glue sheets back to back with color facing out.

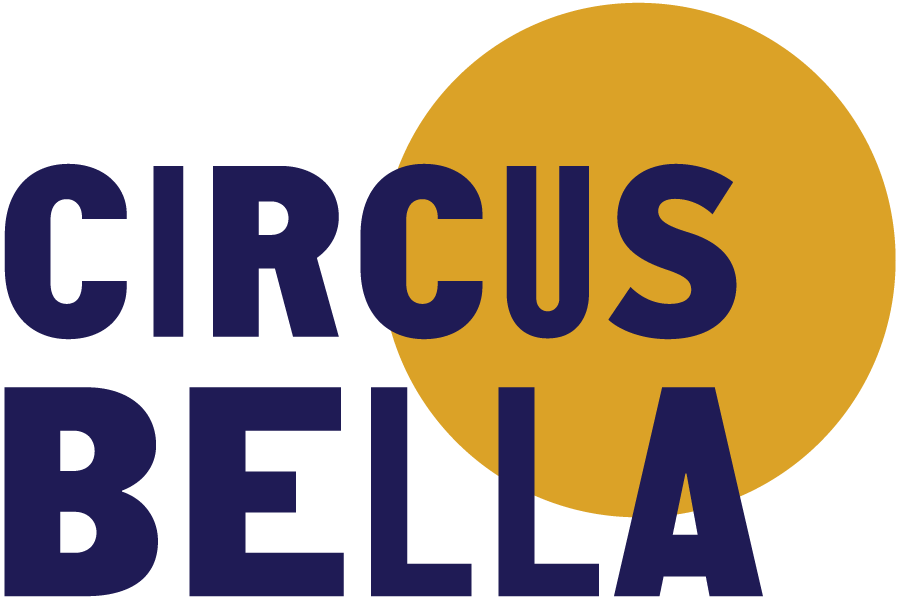
Fold in half along diagonal.
Fold in half along other diagonal too!
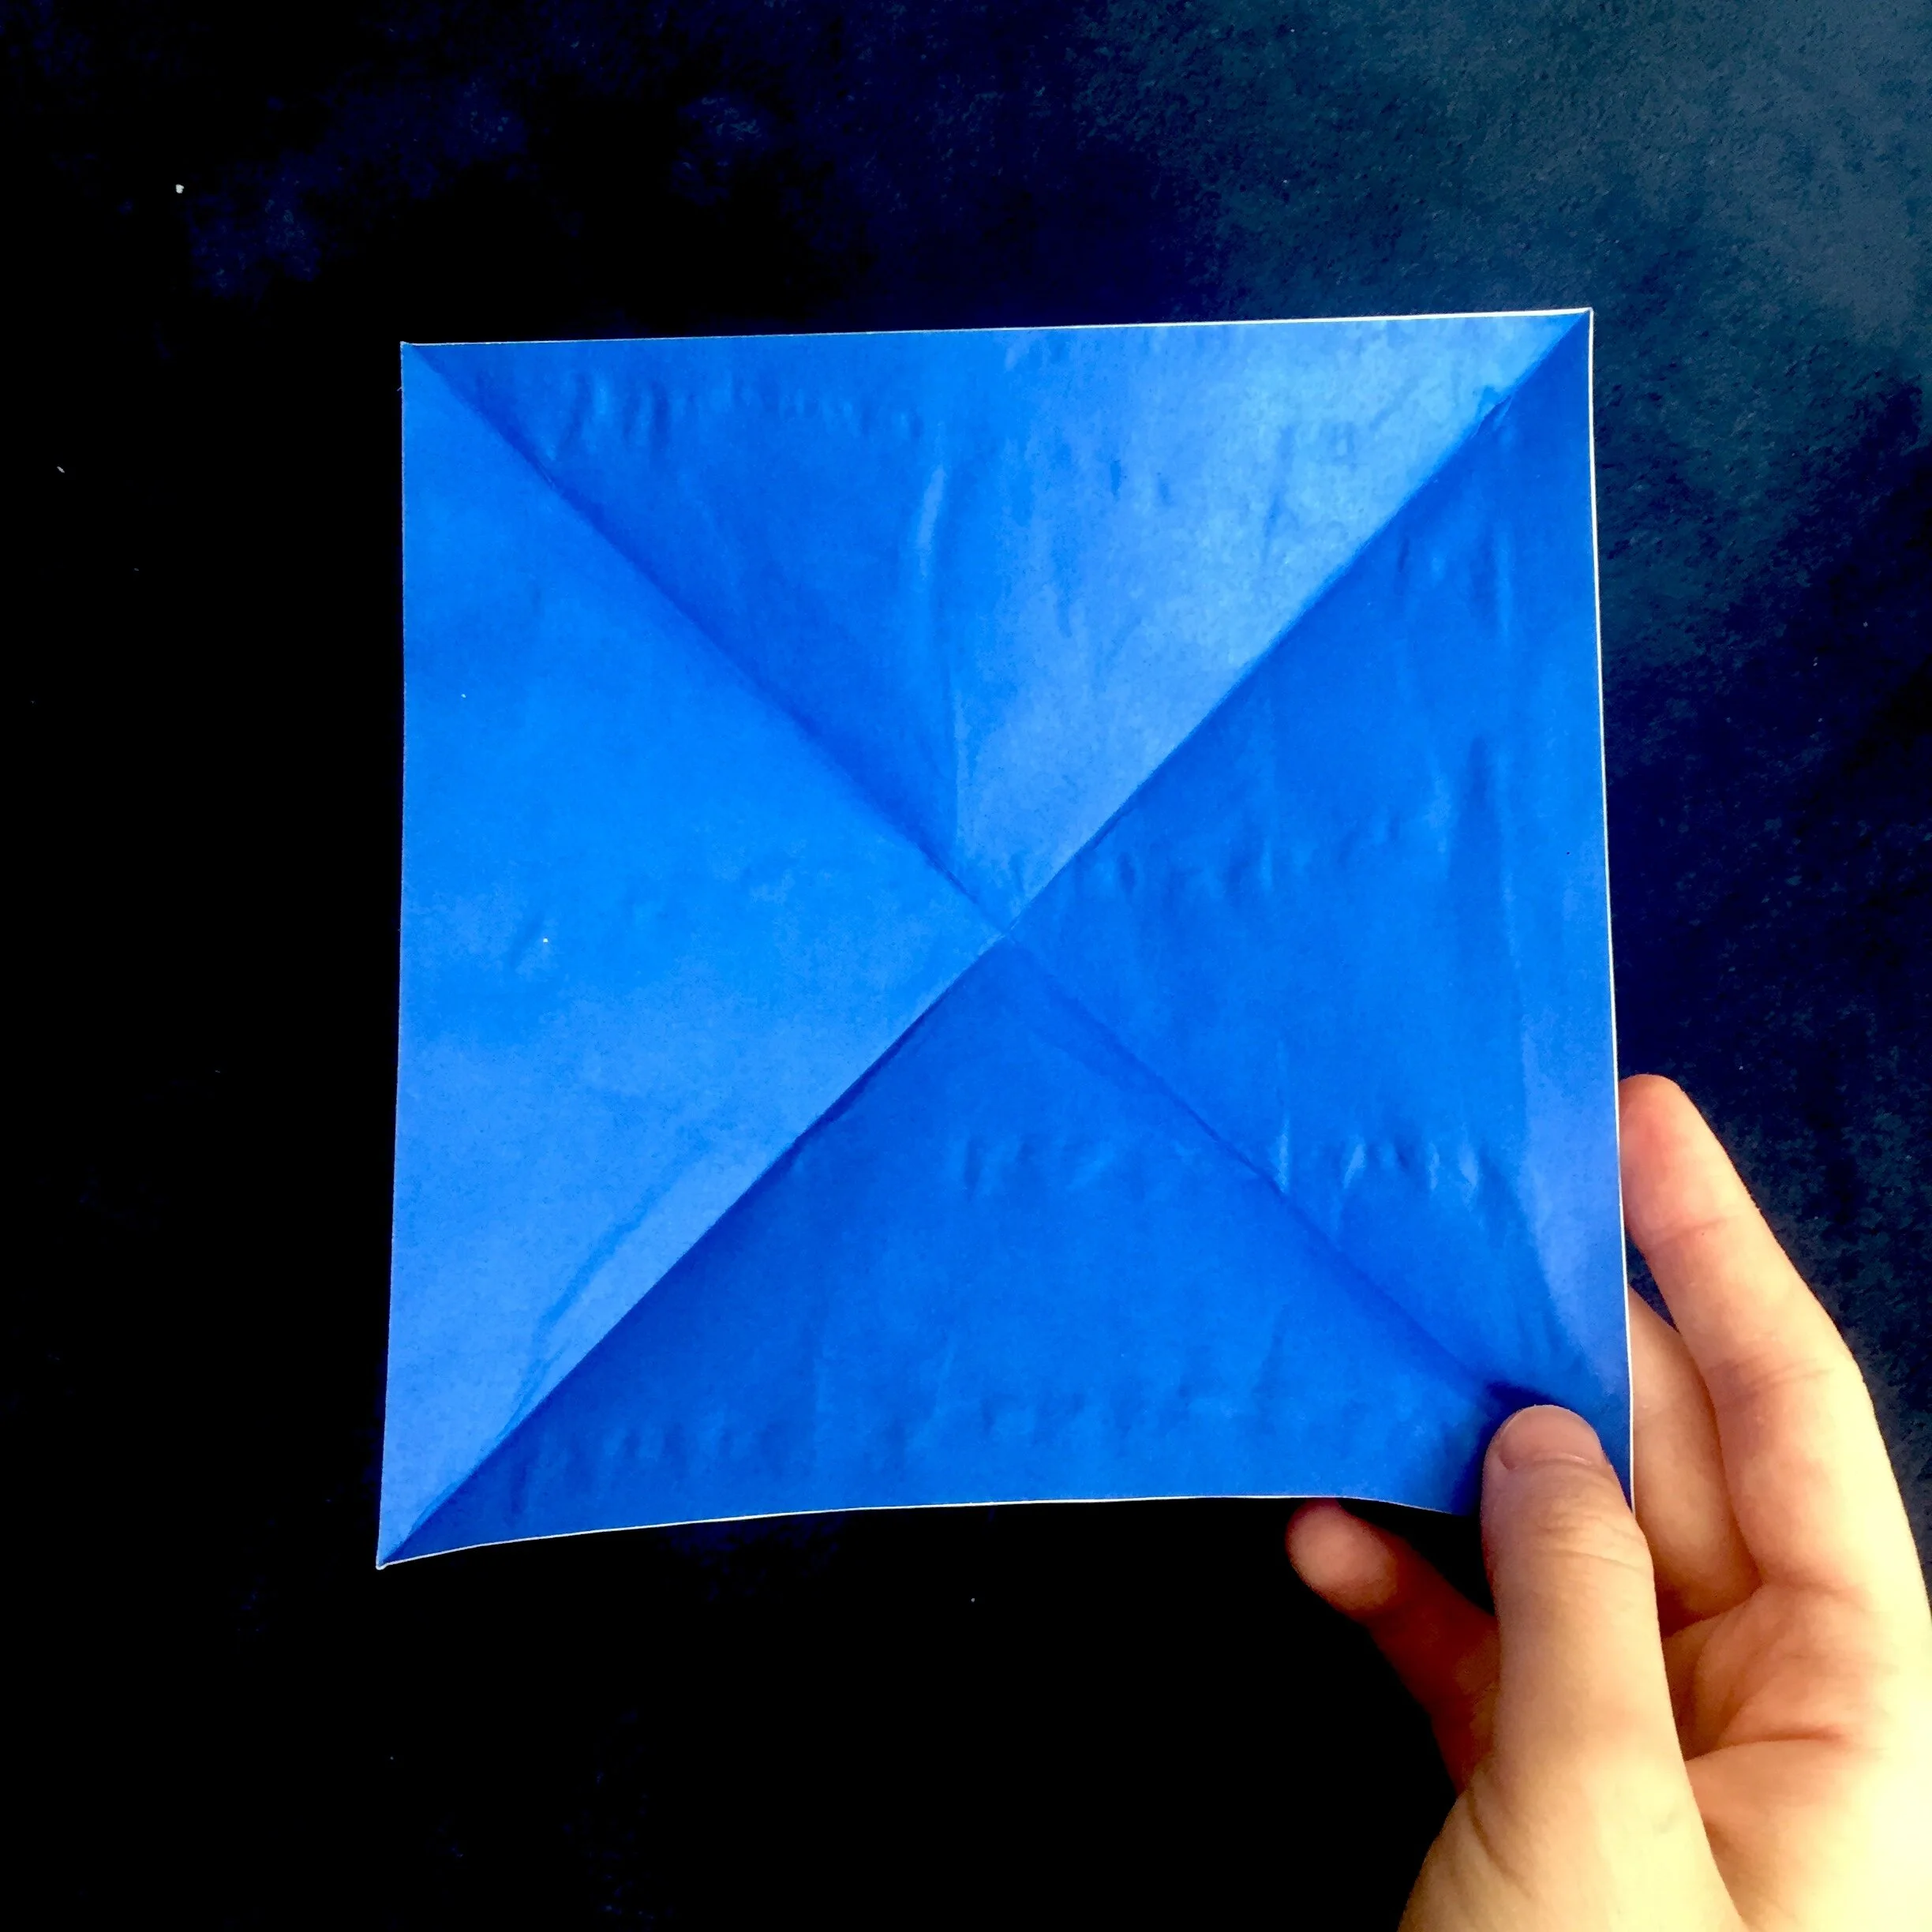
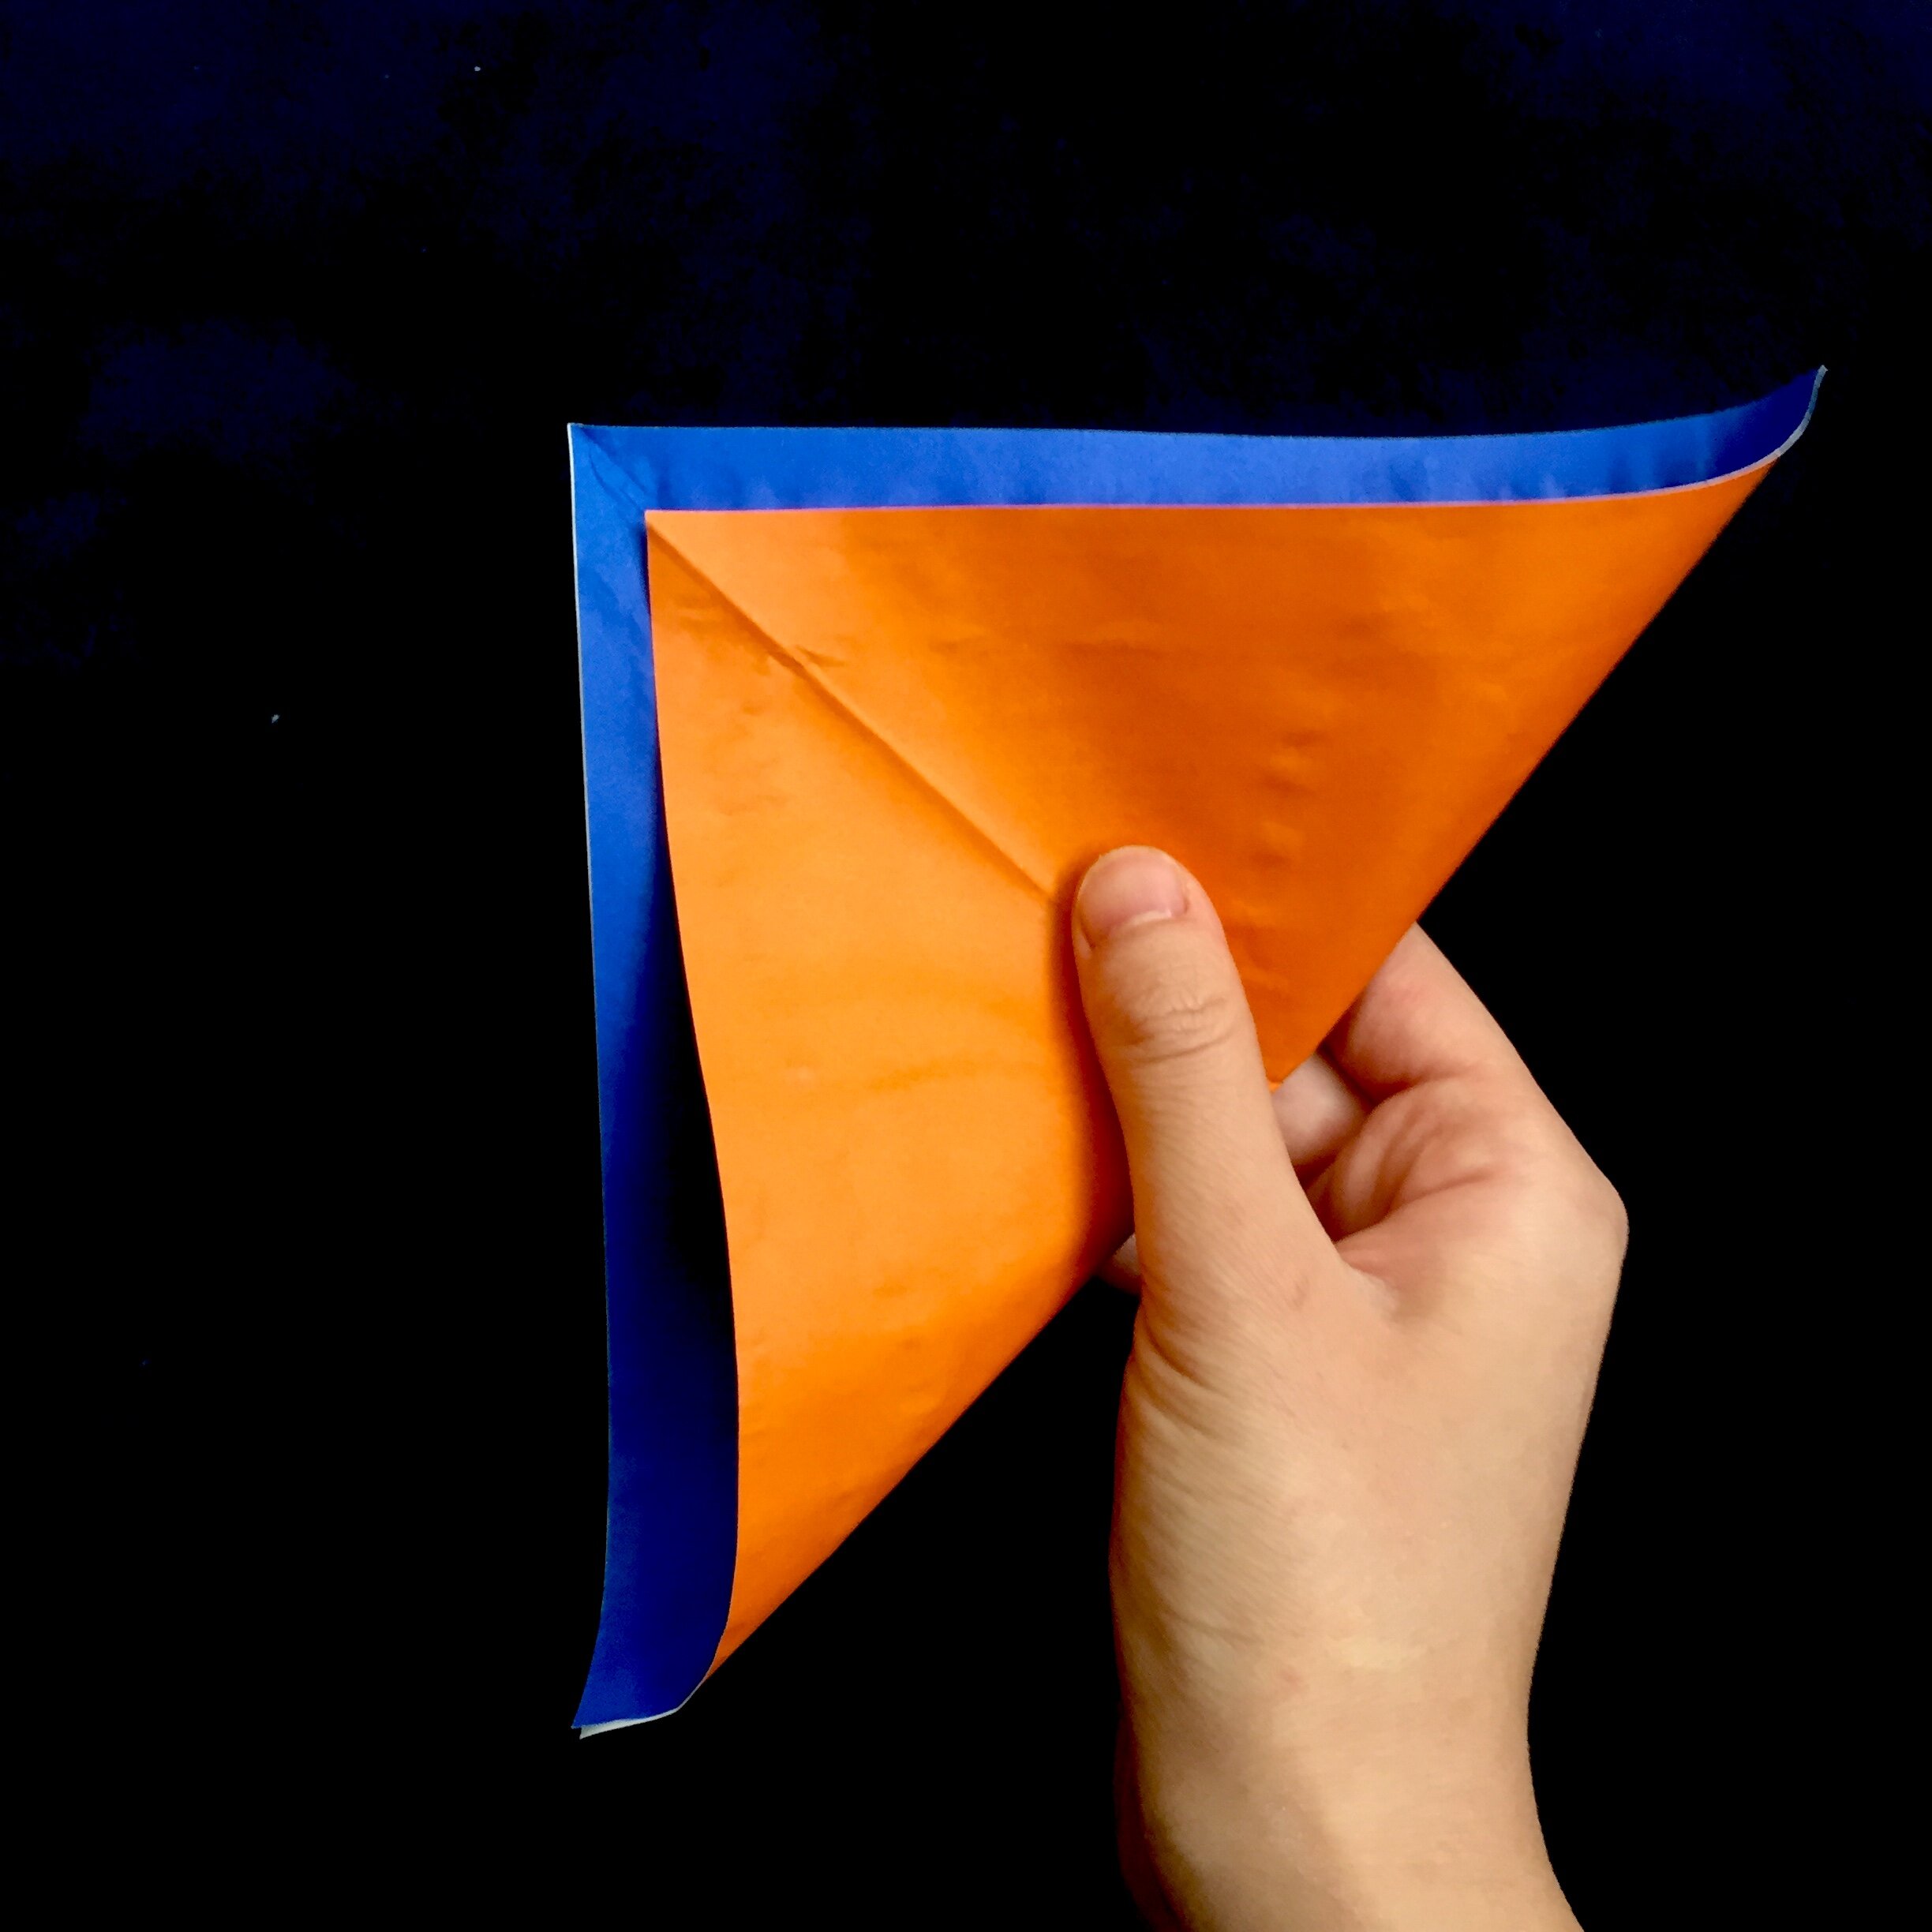
Unfold. You should have an X that goes from each corner to the center.
Now’s a good time to decorate!

Use paint, markers, or whatever you can think of to decorate.

You can use paint and bottlecaps to stamp textures onto the paper.

Press and wiggle a bit.

Reflective colors are the best for pinwheels.

Repeat for lots of interesting textures.
Now we are going to cut slits into paper.

Measure 1/3 of the distance along the diagonal away from the center.

Mark and cut to the mark.
Figure out which color you’d like on the inside of your pinwheel and flip that side up.

Take a Sharp Pencil and read the next instruction set carefully!

You are going to poke 5 holes total.

One in the center…

And 4 on the corners. Make sure they are in the same pattern as above!

The spokes are formed by aligning the holes and pinning them together loosely. DO NOT FOLD BLADES INTO PLACE!
Making the Hardware!
Making a pin:

Undo paperclip.

Take a pair of pliers…
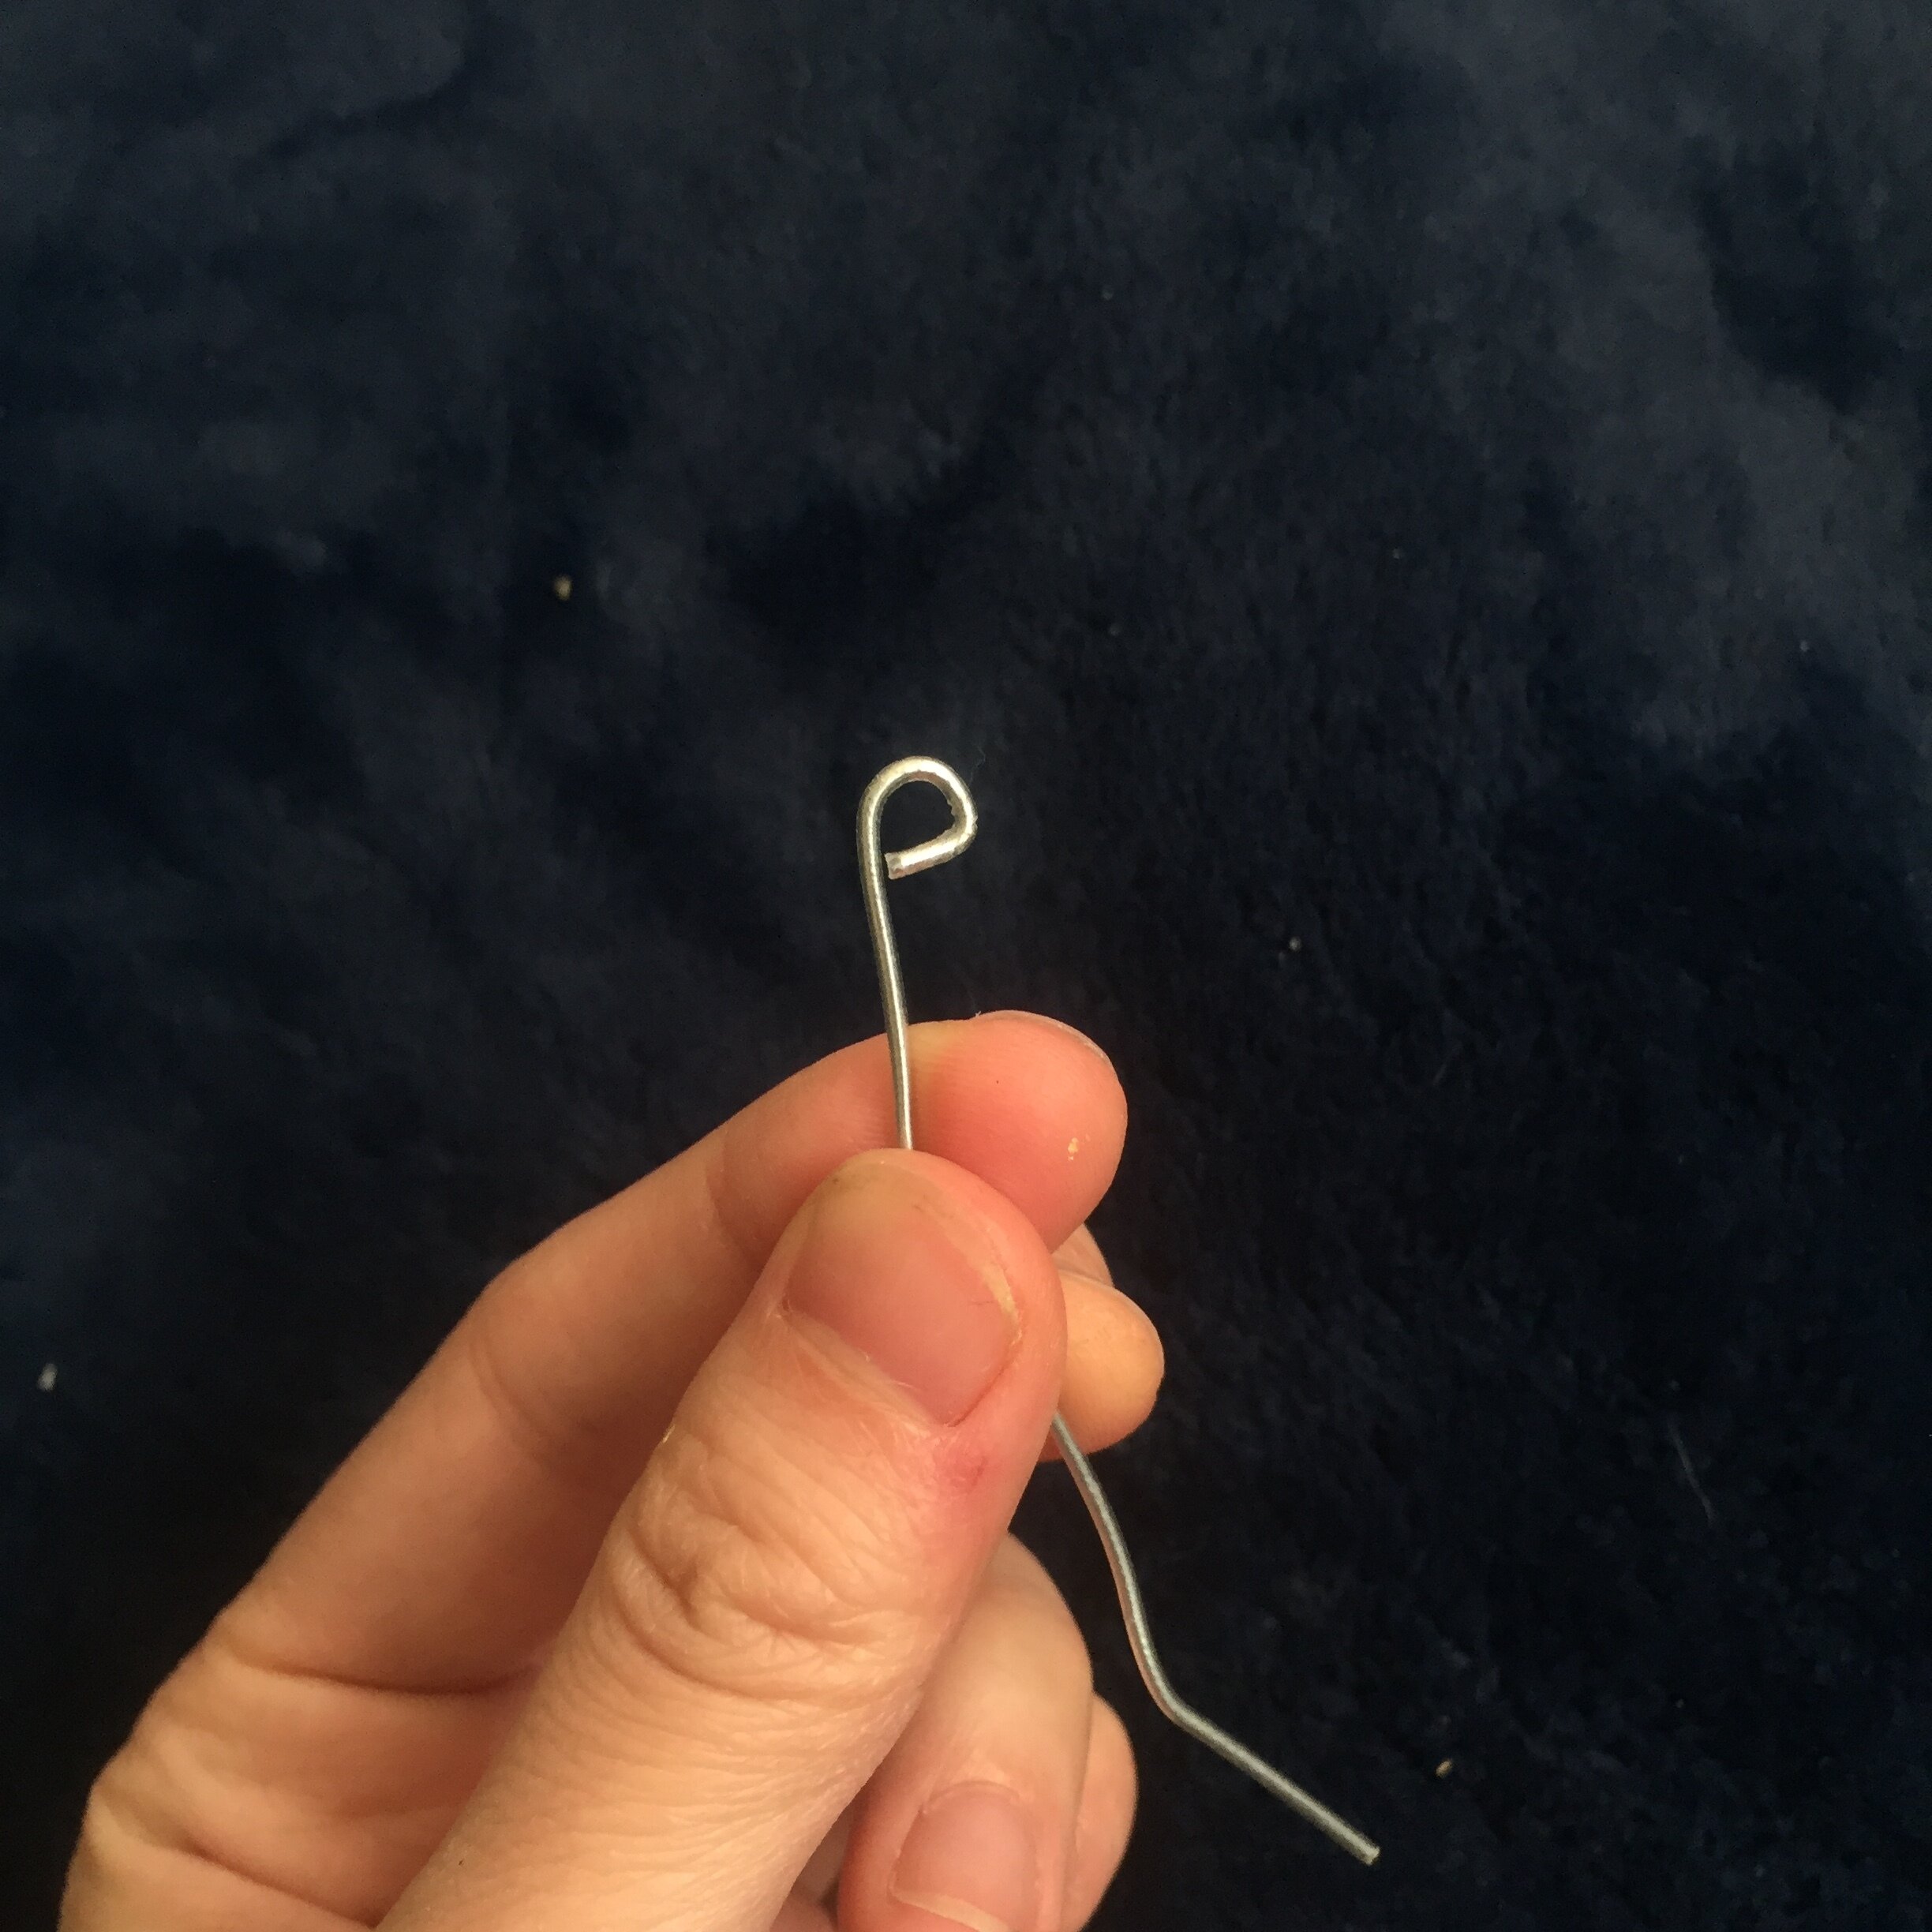
Make a tiny loop at the end.
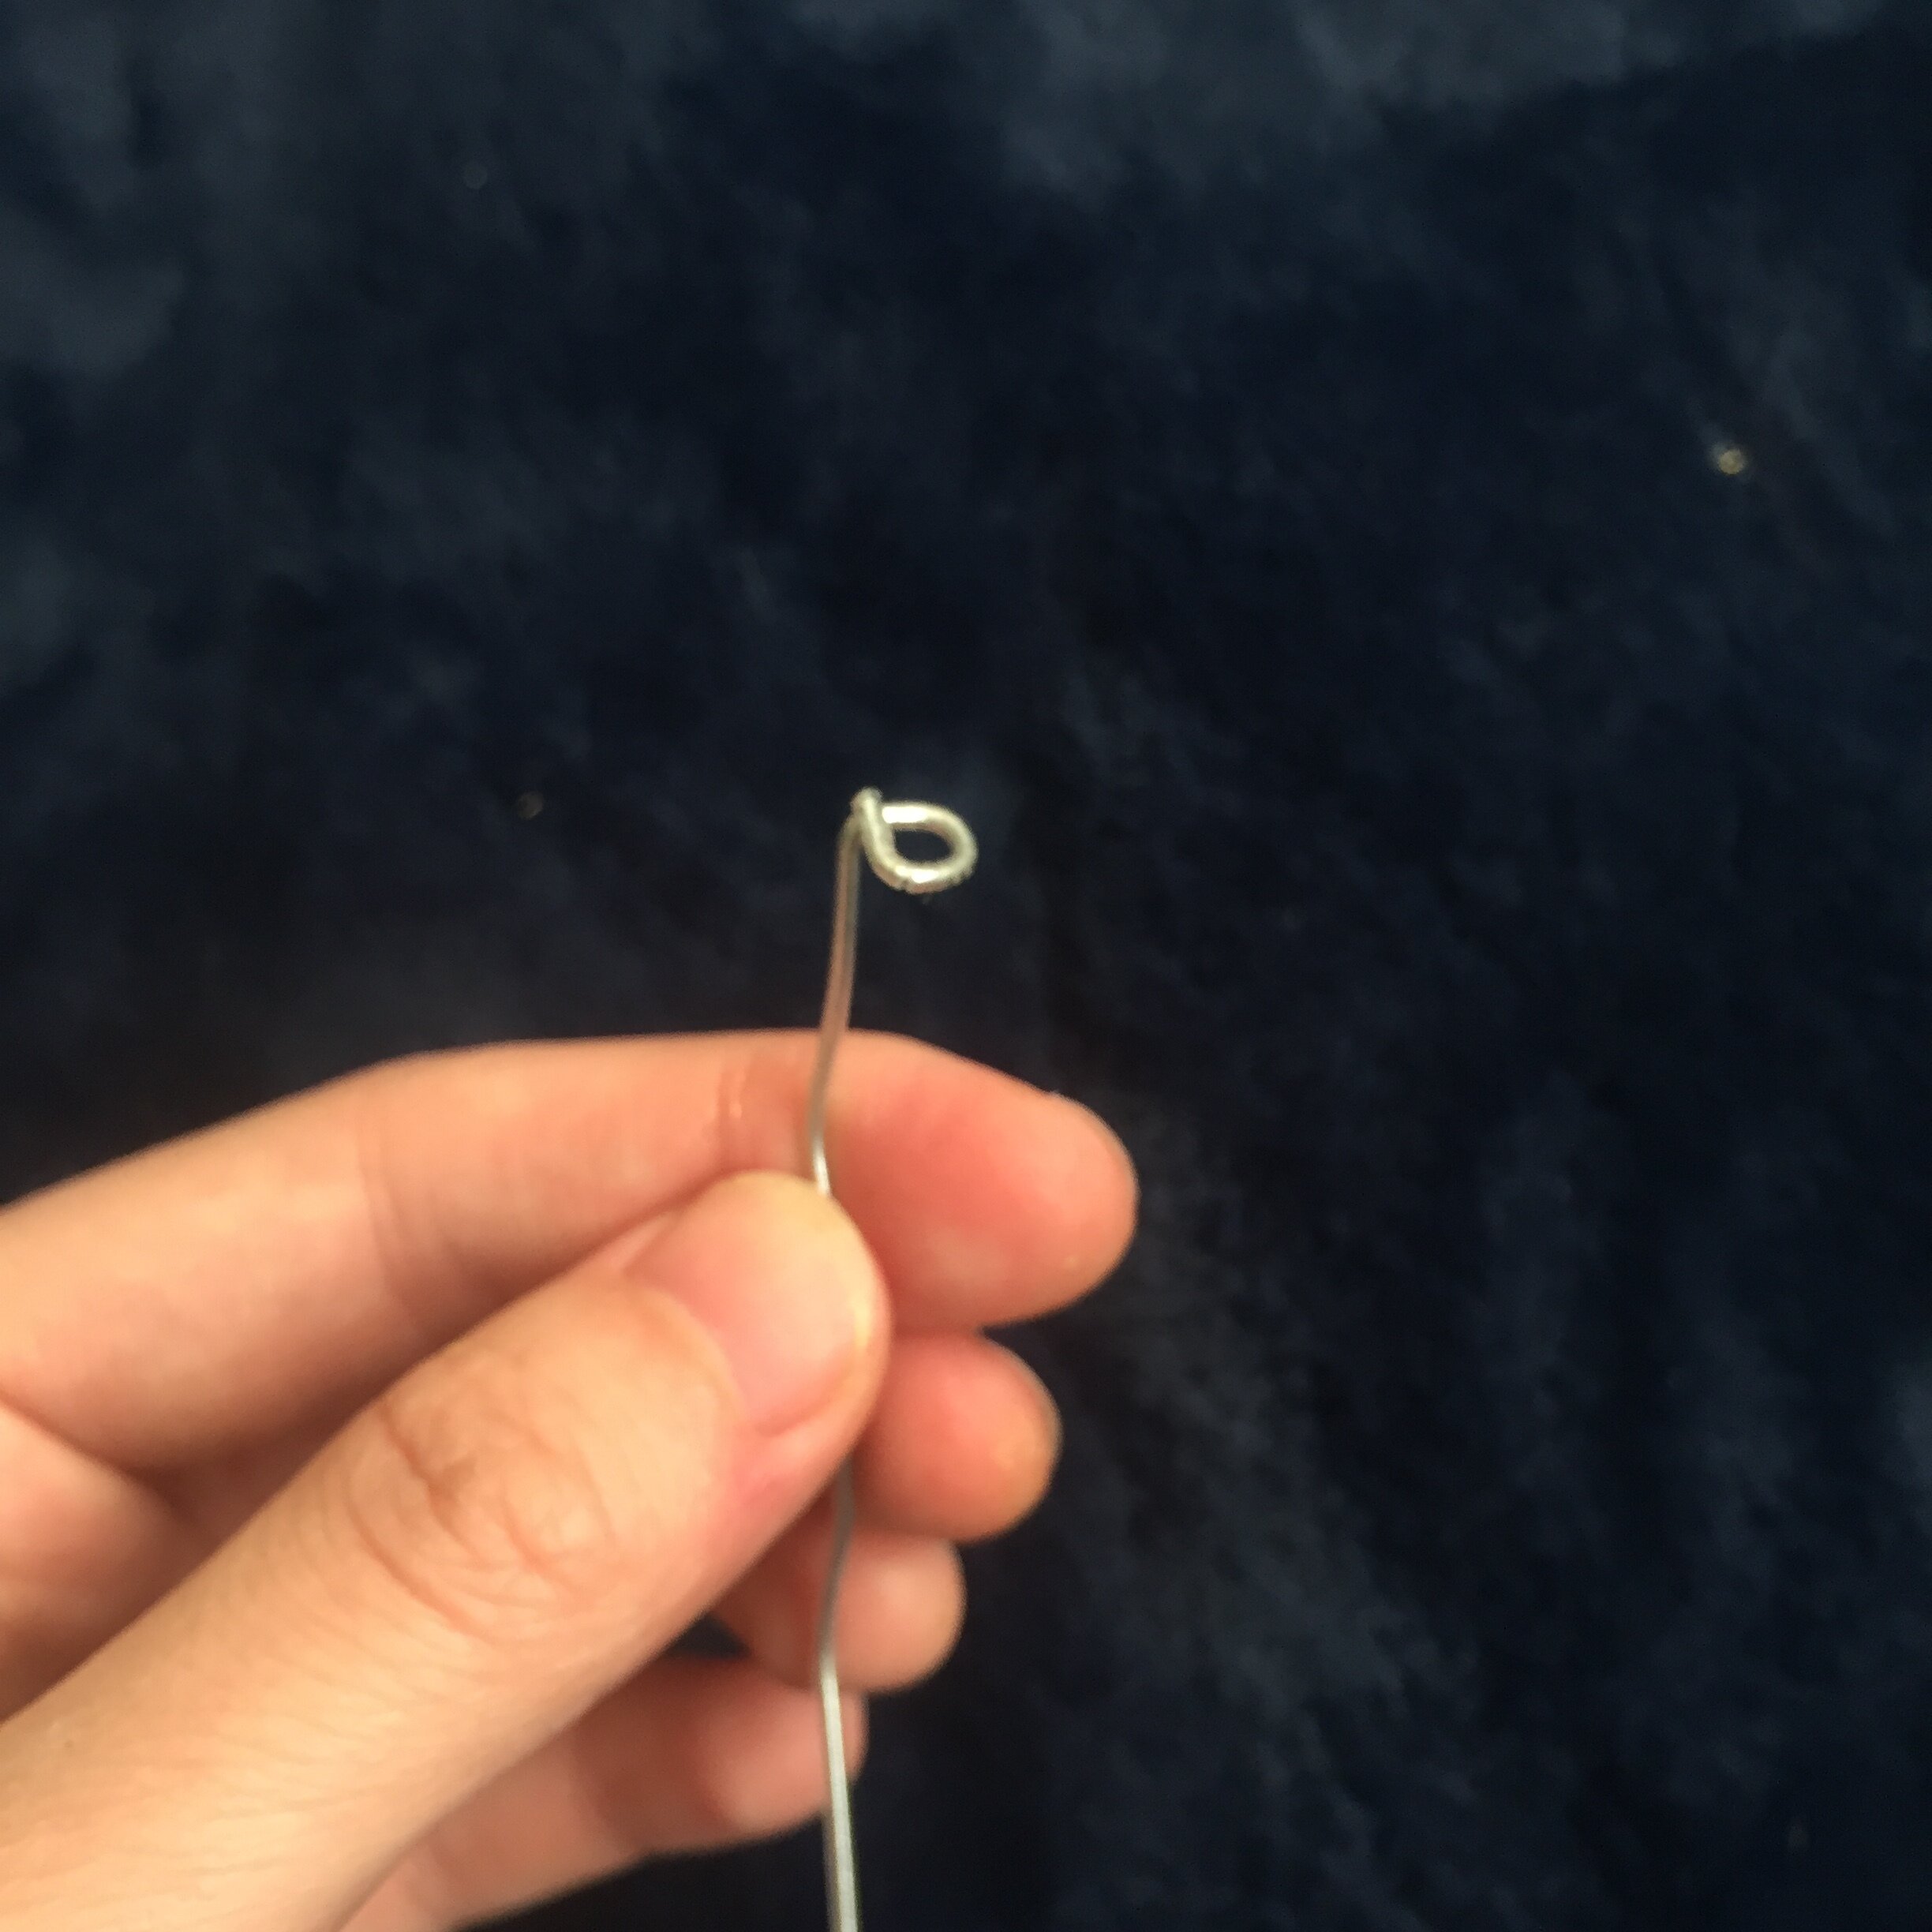
Bend the loop at a sharp right angle.
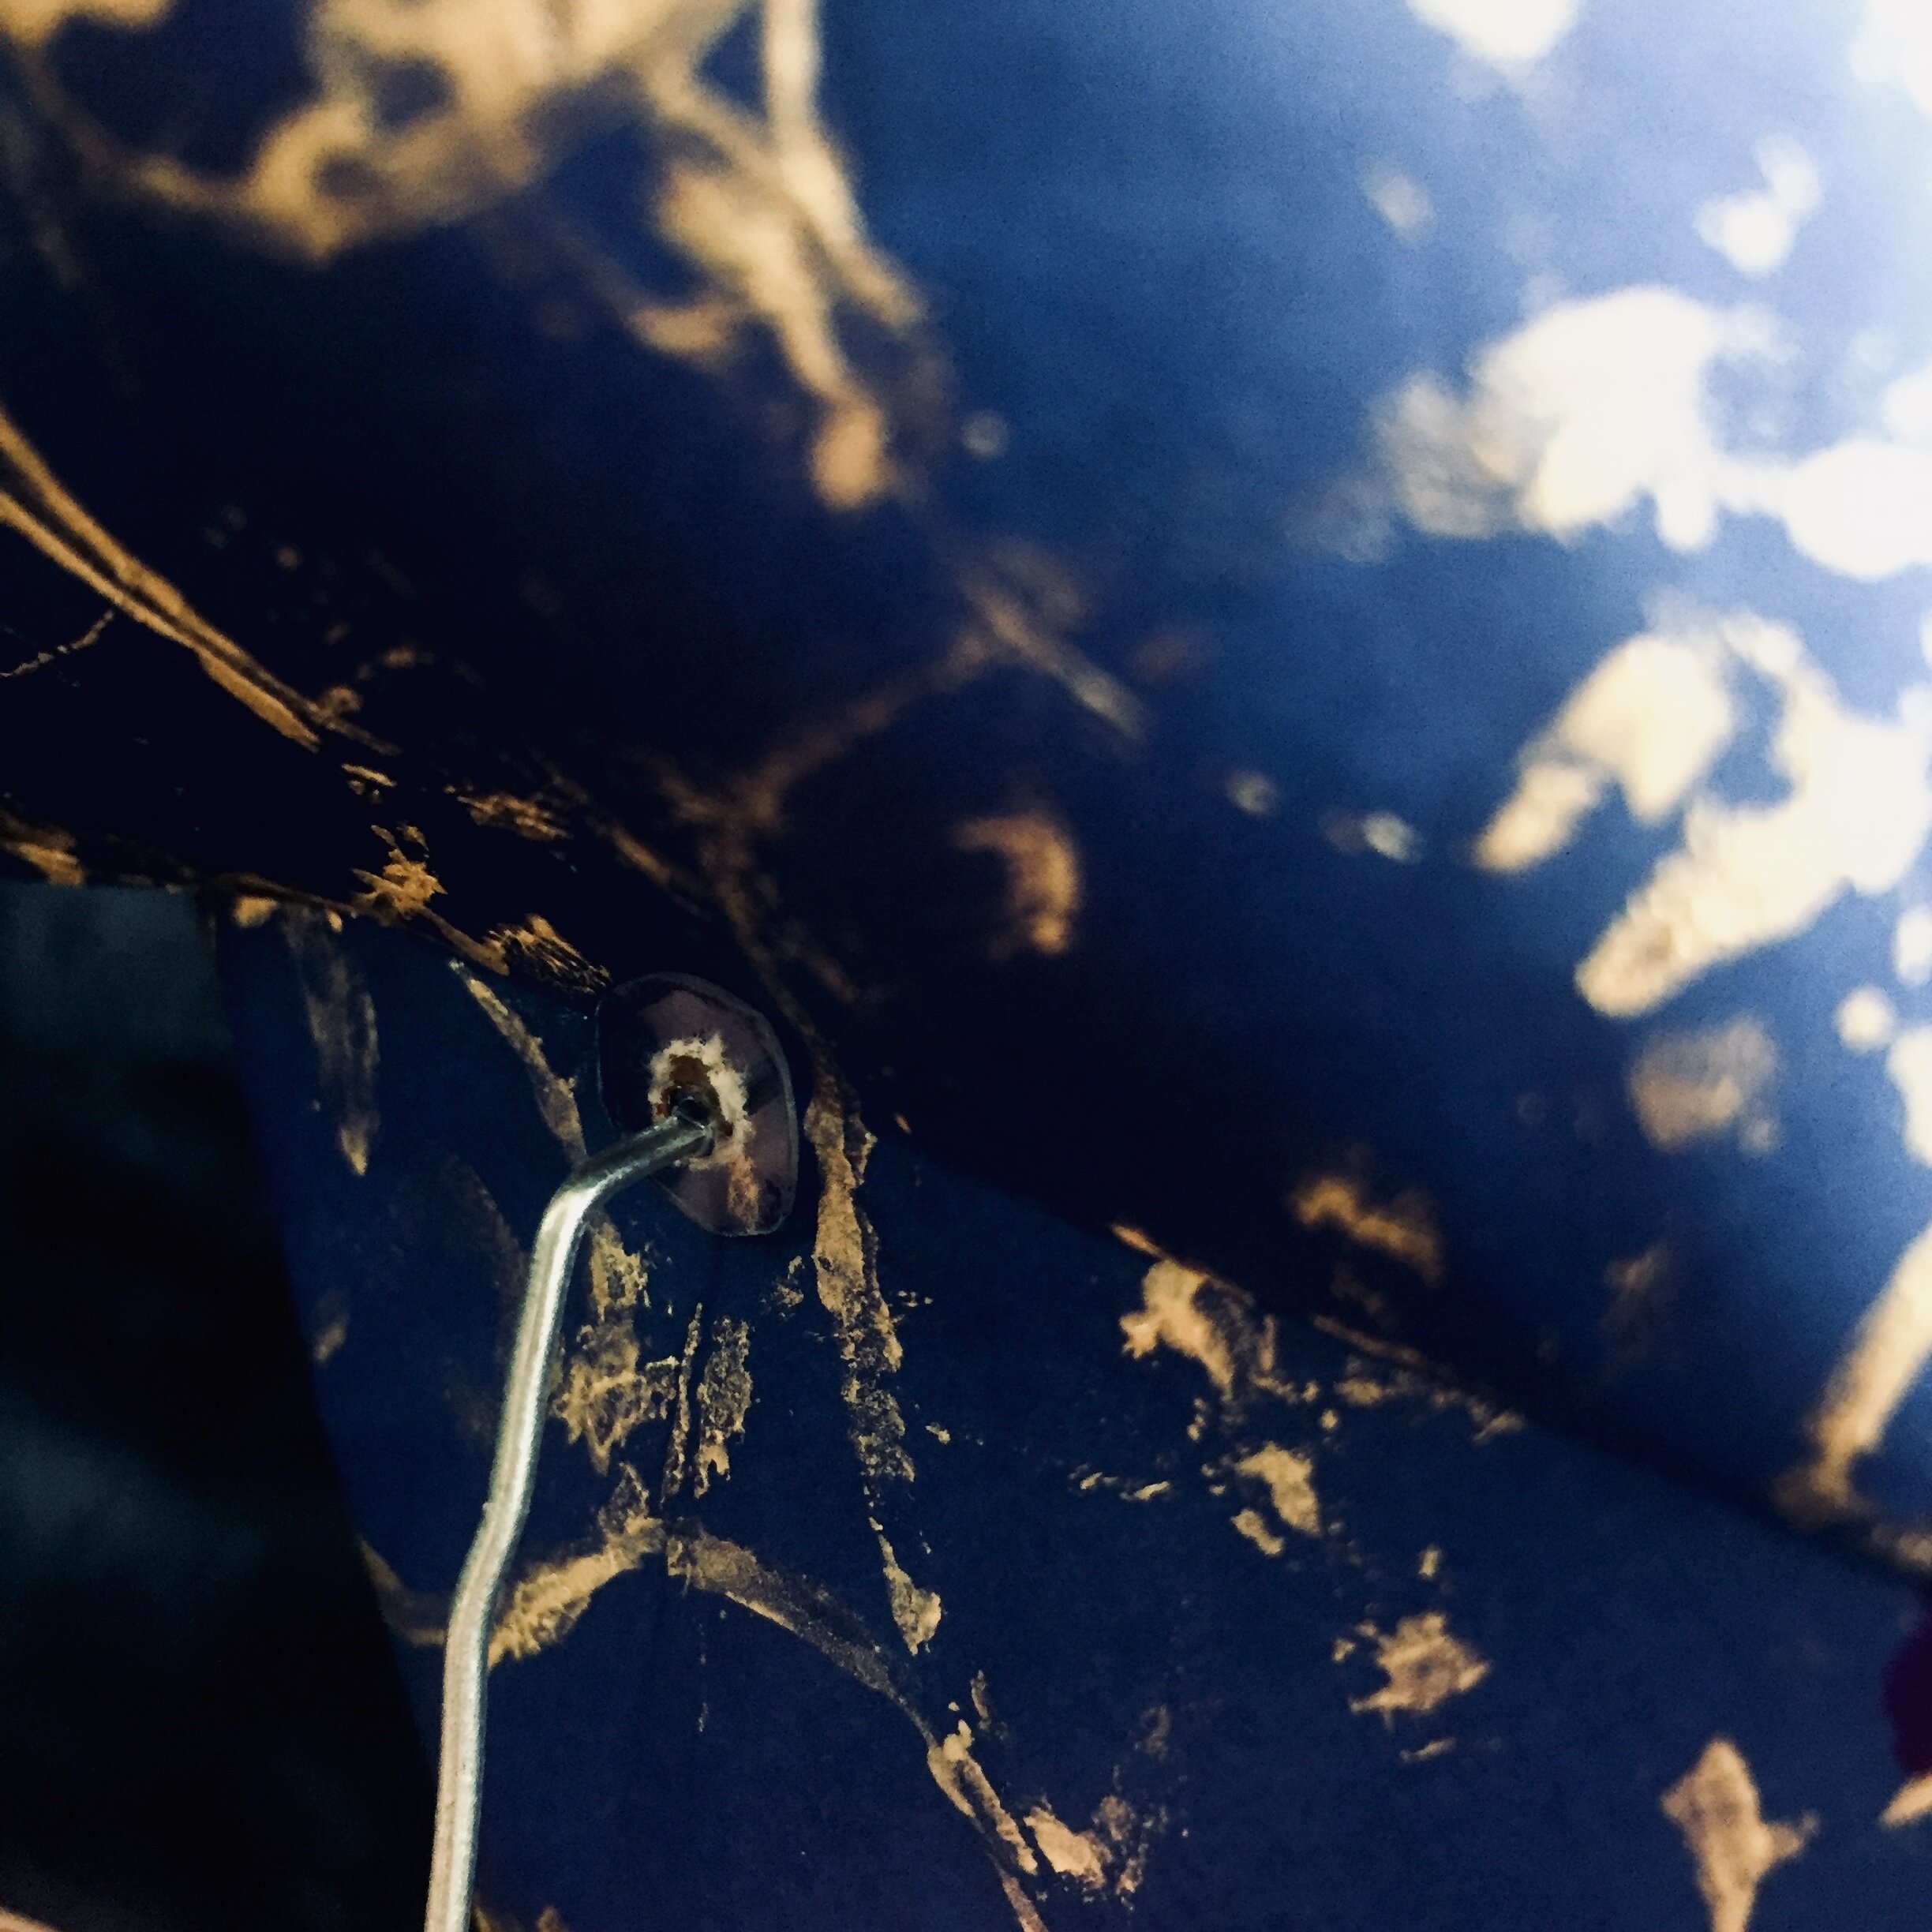
Making a Washer:

Find some thin plastic.

Draw circle with a dot. Cut it out and use a pushpin or something small and sharp to poke out the hole in the middle.

Congrats you made a plastic washer!
Putting it all together:

The loop bit should go in front. The blades should NOT be folded, just loosely held in place.

Slip the washer on the back and push it up but stop just before the end. If you push it up all the way the paper gets too close together and it won’t spin properly.
Use your pliers and make a sharp kink/corner in the paperclip. This will hold the pin wheel where it is and keep things from slipping. I recommend a little less sharp of a 90 dregree angle so the pinwheel doesn’t hit your stick you attach it to.

Go ahead and tape the long bit of paperclip tightly to any stick.
Presenting… your very own pinwheel!

Make sure you spin your pinwheel a few times to smooth the hole out. The more you use it, the easier it will spin!